Intro
I wired my house, circa 2014, for CCTV. At the time, I didn’t have as much confidence as I would have liked in IP cameras so I ran coax and power to each camera and used analogue cameras. As I have upgraded my system over the years, replacing the wiring for IP is impossible. I have recently upgraded to some Hikvision ColorVu cameras as they provide decent quality colour images at night time.
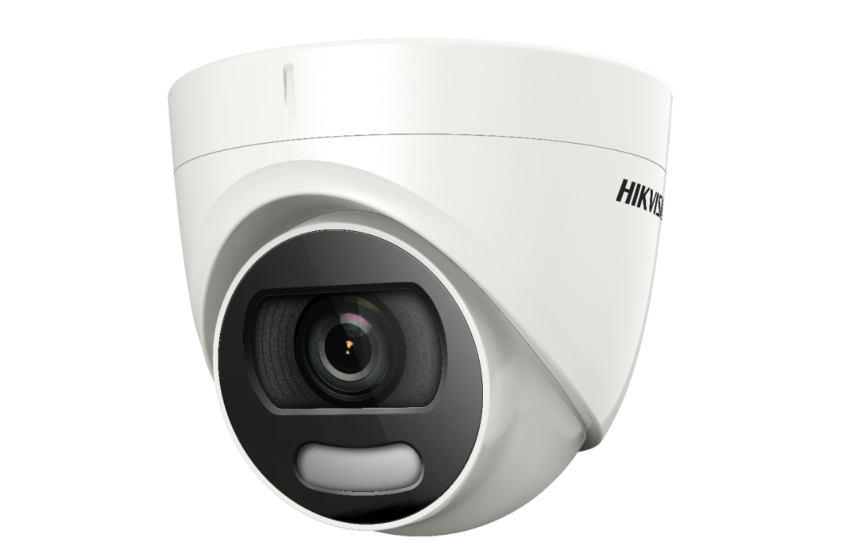
The specific cameras I got were DS-2CE72HFT. These cameras record colour at night through a combination of long exposure times and an LED light on the camera itself which turns on when light levels drop sufficiently low.
By default, the LED light is on at 100%. This is unnecessary for most use-cases and it’s a little obnoxious, if you have neighbours. It is usually possible to turn this light down significantly and still achieve a decent image.
Configuring the cameras remotely isn’t too tricky, once you know how.
Accessing the Menu
Remote config is done using the PTZ (pan tilt zoom) controls on the Hik-Connect app. You first need to open the menu, like so:
- Open the Hik-Connect app and open the full screen view of the analogue camera you want to configure
- Press the PTZ button in the bottom bar. This is a circle with 4 arrows around it
- Go to the “Preset” tab
- Change the preset number to 095 and press “Call”
- The menu should now load up. If it does not…
- Go to the “More” tab under the PTZ menu
- Press the Iris button. This is the icon which is a circle made up of 6 arrows
- When the Iris menu opens, press the + button
- The menu should now load
Using the Menu
In general, to use the menu:
- To scroll up and down through the menu, use the up and down buttons of the main Pan and Tilt controller
- To enter into a sub menu, select exit, save, etc., go to the “More” tab under the PTZ menu, press the Iris button (This is the icon which is a circle made up of 6 arrows) and then press the + button
- To change a menu option, use the left and right buttons of the main Pan and Tilt controller
Dimming the LED Light
Follow the above instructions to open the menu on the camera. Scroll down to “Smart Light” and enter into the menu using the + button of the Iris control
The “Level” option controls the brightness of the LED light. There are 5 settings (1 to 5). 1 is the dimmest (20% brightness) and 5 is the brightest (100% brightness). As you change this option, the brightness will change immediately. As such, it’s best to do this at night so you can see the effect of the change and select the right setting.
Once you are done making changes, scroll down to “Save & Exit” and press the + button of the Iris control again.
Increasing Exposure Time
Under the “Exposure” menu, there are a few different “Exposure Mode”s. Have a play with these to see what looks right. Longer exposure modes like HLS can help in low light situations and can allow you to dim the LED a bit lower without impacting the visibility of the image.
If you change the exposure at night, also check it in the day to ensure it doesn’t look over-exposed in the light of day.